|
When it comes to towing a vehicle behind your RV, the information gathering process can be taxing and overwhelming. You need to choose a tow bar and corresponding tow bar brackets (we went with the Roadmaster All-Terrain system and LOVE IT!), figure out your tail light diodes and - maybe most importantly - decide which auxiliary braking system you want to use. For the purpose of keeping the topic simple and reserving your sanity, we’re going to focus on that last component! What is the Brake Buddy? Built right up the road from my hometown in Olathe, Kansas, the Brake Buddy Select 2 unit is a portable, easy-to-use auxiliary braking system designed for towed (or, as they’re commonly referred to in the RV community, “toad”) vehicles. It is designed to help improve the braking performance of a towed vehicle and ensure that it stops safely and efficiently when the towing vehicle does. Think of it like trailer brakes: You’ve got 3000-8000 lbs of dead weight dragging along back there and without dedicated brakes, you’re asking your tow vehicle’s brakes to stop the whole package. Not to mention the danger of momentum swinging the trailer or toad around should things become squirrely. It’s a simple machine: When braking pressure is required, the Brake Buddy actuates a pneumatic cylinder which presses the brake pedal on the toad. What makes it unique? One of the standout features of the Brake Buddy Select II and Select 3 units are their portability. Unlike permanently-affixed systems, Brake Buddy units are removed when not in use. This can be both a blessing and a curse depending on your needs. The good news is the unit is compact and lightweight, making it easy to install and remove as needed. It also has a wireless remote control, which allows for easy activation and deactivation of the system. We place the remote right on our dashboard and stow the Brake Buddy in a small undercarriage compartment when it’s not in use. Another notable feature of the Brake Buddy Select II is its ability to self-diagnose any issues or malfunctions that may occur. This can help to ensure that the unit is working properly at all times and that any problems are identified and resolved quickly, which is a great thing since we had a lot of issues with our first unit! Reliably unreliable Have you ever owned something that you just knew was going to let you down at the worst possible time? In our RV life, we have had two of those: Our Onan QG5500 generator and the Brake Buddy Select II! Issues with our first Brake Buddy unit began after about a year of use when we got an error immediately following a very hard stop. I pulled over and looked inside the housing where I quickly saw that the air line from the pump to the cylinder popped off. There is no real clamp on these hoses, just small zip ties. Leary of voiding my 3-year warranty, I called Brake Buddy and explained my situation. I could not open the unit myself, I was told. As frustrating as it was to mail my unit back for such a trivial issue that I could have fixed in five minutes, rules are rules and I wanted to keep my warranty intact. Besides, Brake Buddy shipped us a loaner unit which meant we just threw ours in the box and sent it back with the return label! It took several weeks to get our machine back but the loaner was much appreciated. We got a few months’ worth of use out of the newly-repaired unit before the same thing happened again - this time while traversing the Rockies. If you’ve ever driven down a mountain in a large vehicle you understand the importance of brakes. Suffice it to say, this was a stressful situation. This time when I called Brake Buddy, I was pretty adamant that I needed to fix the issue myself. After all, we were on top of a mountain and I wasn’t going to be stationary for a long time to receive and ship units back and forth. The technician reluctantly agreed and I was able to repair the problem in just a few minutes by removing the screws around the bottom, splitting the case open and affixing a new zip tie to the small air hose. While I was in there, I looked around at the components to make sure nothing else needed attention. What I found was the mounts on the air pump had fallen apart allowing pretty much everything in there to just move around. This wasn’t helping keep the air lines in place. I figured I would visit the Brake Buddy HQ once we got back to Kansas to see if they could fix the mounts. Turns out I’d have even more reasons to visit them in person because just a few weeks later the control panel began displaying errors. Then the air pump began to fail, eventually dying altogether after a few more uses. At this point we were back in the central plains so I just stowed the Brake Buddy and drove back to Kansas without toad brakes. By this time I was pretty darn frustrated but I scheduled a visit to the Brake Buddy HQ. It’s a quick drive about an hour north of Wichita to see them in person but I hoped to get this resolved once and for all! Brake Buddy did tell me they don’t normally just have people walk in, but they seemed keen on getting this situation resolved for me and made an exception which I appreciated. After an hour of waiting, the technician brought the unit to me and said it was fixed. Not wanting to take his word and waste a trip, I took the Brake Buddy out to the truck, hooked it up and surprisingly (or unsurprisingly, I’m not really sure) - the same error message appeared! I stomped back in, handed the machine back to the tech and sat in the waiting room. He was quite apologetic and after ten or fifteen minutes he returned with a brand new Brake Buddy Select 3 unit! He said they needed to fix so many things on my Select II that it would be better to just replace it altogether and all they had were Select 3 units in stock. Admittedly, my faith in this company’s products was at an all-time low at this point but I thanked them for their service and accepted the new product. Healing wounds with time… and a new machine Having used the Select III unit for a couple years now, I can tell you it’s been a much more reliable product. To tell you the truth, the Select II and Select 3 are basically the same items. As far as I can tell, the only differences are that the Select 3 has adjustable height “feet” and a new “Quick Lock” clevis which is supposed to make attaching the rod to the pedal easier. I personally don’t care for this new clevis, in fact I swapped my Select II clamp onto the Select 3 in place of the Quick Lock. In addition, the controller and all settings are identical between the Select II and Select 3, so I retained my old controller and preferences. Braking force and consistency is also identical between the models. My real hope is that the internal components have been upgraded from the Select II model, but I haven’t disassembled the Select 3 to find out if that’s the case. Final verdict
Experts in the field of RVing and towing have long praised the Brake Buddy Select 2 unit for its performance and ease of use. It has also been recommended by several RV and towing publications as a top choice for auxiliary braking systems. As for us? Our personal experience with the Brake Buddy may have started out poorly but I have been much happier with our Brake Buddy Select 3! Honestly, had it not been for Brake Buddy’s warranty and technical support, these closing paragraphs may have read much differently. Given the overwhelmingly-positive feedback from users online, I’m inclined to say we just got a lemon unit. When the product does work (which the Select 3 has), it works well and provides a lot of reassurance. Overall, if you are in the market for an auxiliary braking system for your towed vehicle, the Brake Buddy Select 3 unit is definitely worth considering. Its portability, ease of use, and effective braking performance make it a top choice for many RVers - including the Lackeys!
0 Comments
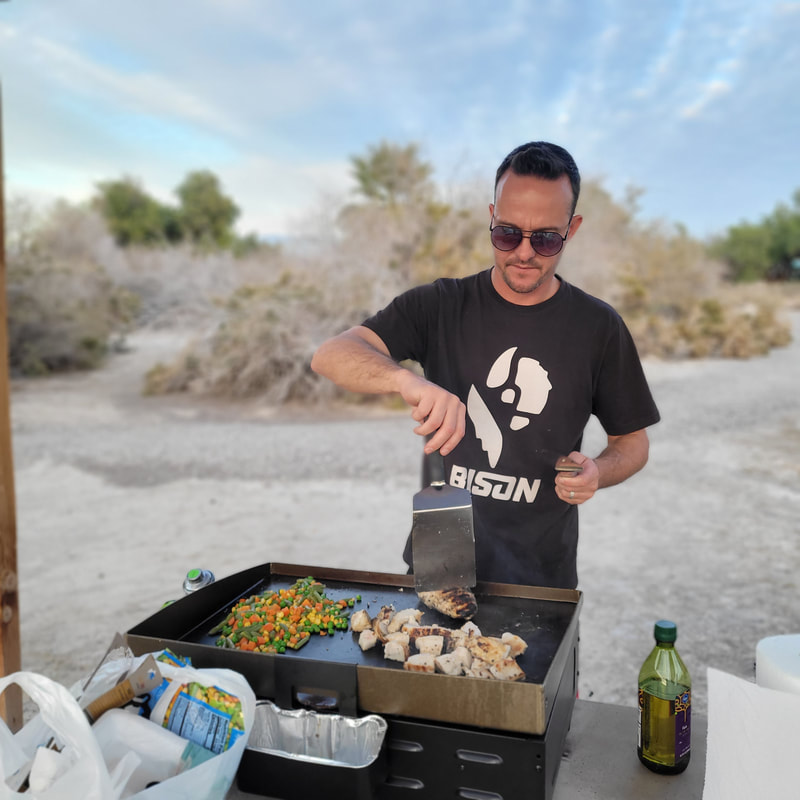
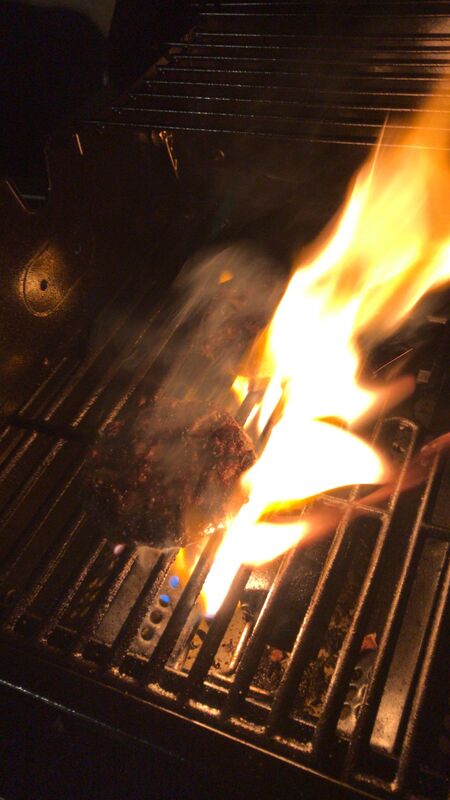
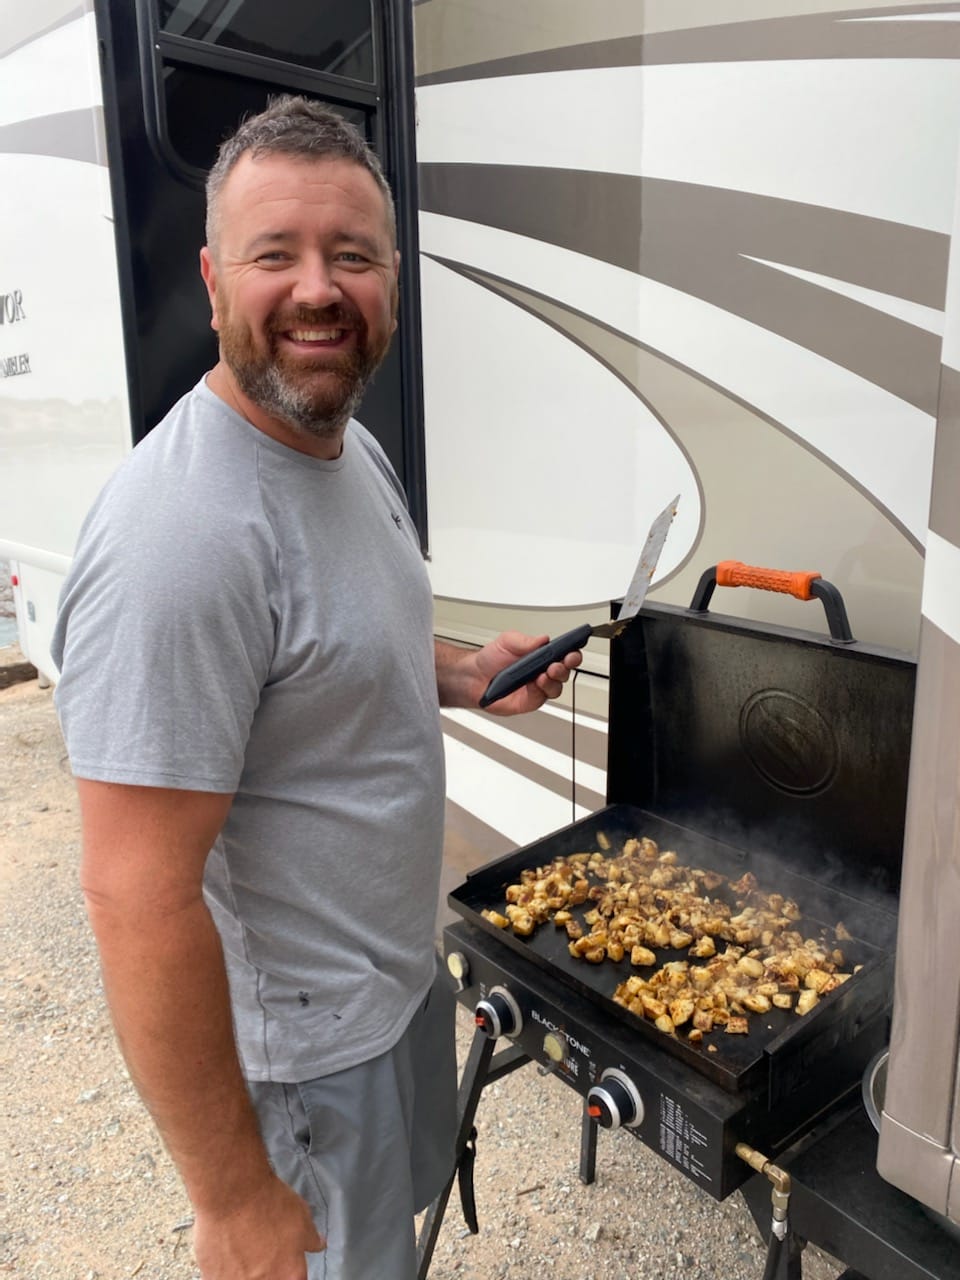
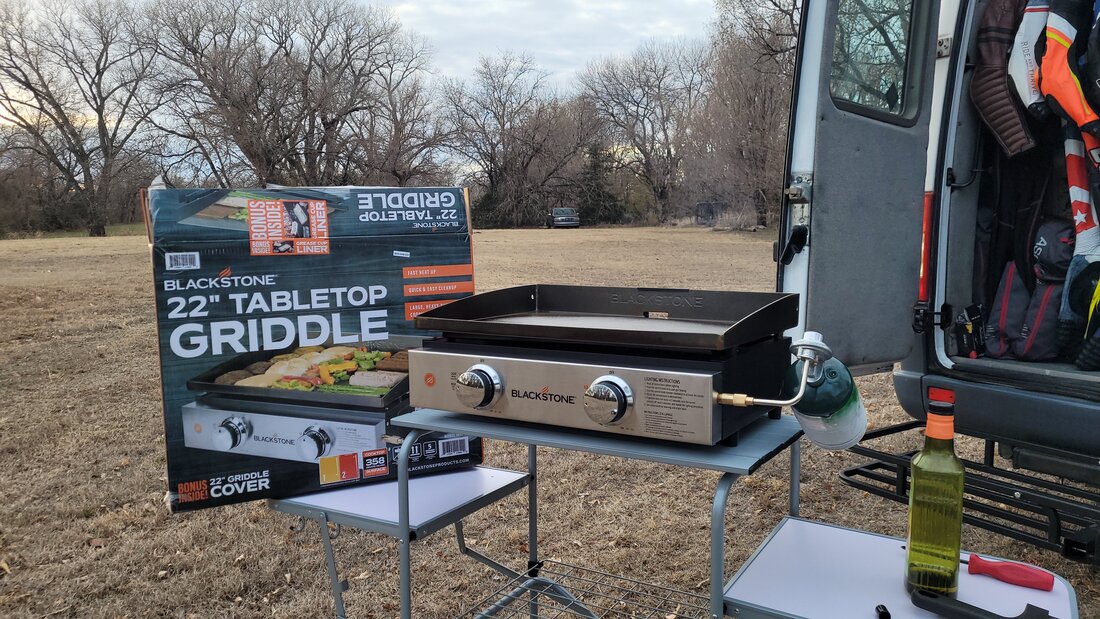
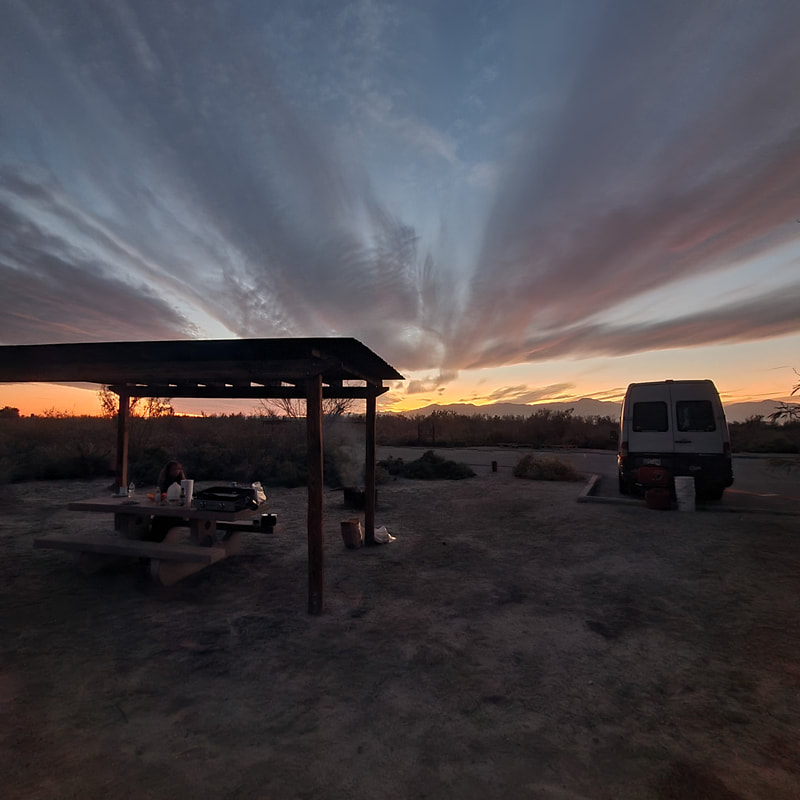
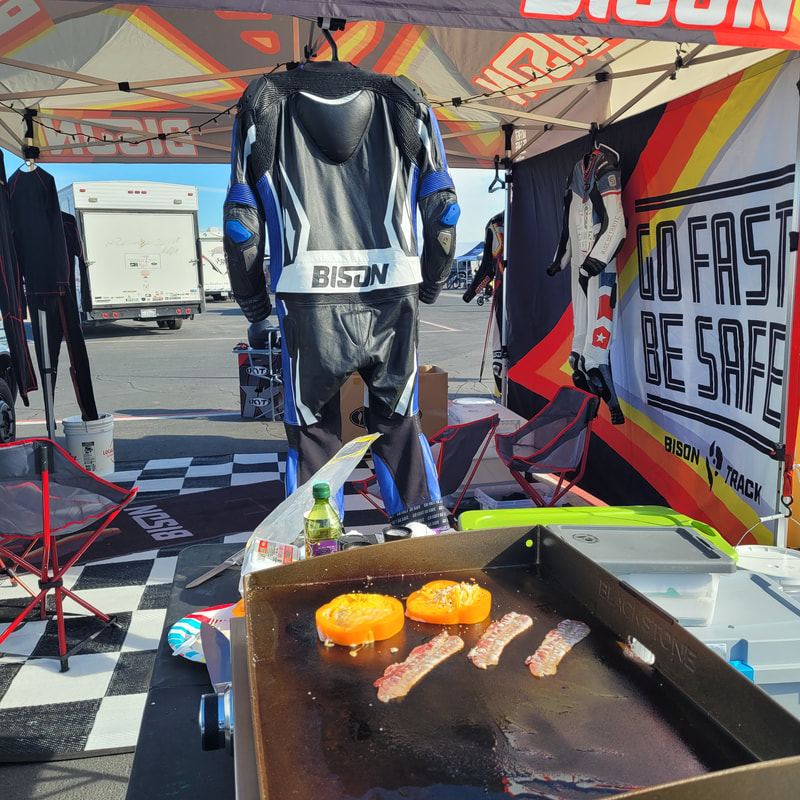
Want to stress me out? Ask me to make a meal for a party of six or more on a camping grill. Want to give me a breakdown? Tell me I have to clean up the cooking area afterwards! Despite what the above paragraph might have led you to believe, Tosha and I actually love hosting and entertaining guests at our campsite. We offer seats and stir up conversation without batting an eye - all while keeping our guests’ cups full of the beverage of their choice. When it comes to the cooking and cleanup part? We draw straws to see who gets that one. The challenge of RV cooking I can’t speak for Tosha but I personally stress about cooking because I have a ton of trouble coordinating the timing and temperature of multiple foods. That issue is made worse in an RV, where the cooking appliances are generally smaller and less accurate than residential units. The easy answer to this problem is to carry an outdoor grill as you travel in your RV, but this creates challenges in and of itself as space and weight come into play. By far though, the thing we both hate the most about cooking is cleaning the cooking area and utensils! For three years, we carried a small Coleman Gas Camping Stove in our lower compartment. It did the job, it was efficient and it’s lightweight to boot. A small bottle of propane yielded several days’ worth of meals, albeit with the occasional (okay, frequent) grease fire. Despite the efficiency and convenience, I was never truly happy with the little stove for our needs. The small cooking surface only accommodated four burger patties and the single burner control was agonizingly hard to adjust (basically either “off” or “fire”). The thing about this Coleman grill was that it was always absolutely gross. Cleanup was not easy nor did I ever look forward to it. At some point over the past year or so I simply gave up on cleaning the grill and started chucking it into the undercarriage bin after a quick exterior wipedown. Not ideal but again, we used it quite a lot. (Note: If you’re a van lifer or weekend camper this might be a good starter appliance for you, so we’ve included a link to purchase the Coleman grill.) The day I found a better solution We were in Ft. Lauderdale at Yacht Haven RV Resort in February. I’ll never forget this because it was my birthday and we met our now-best RV friends, Ken and Amanda Freick, in the pool that day! The Freick’s are GREAT hosts and they graciously invited us over for some food cooked on their “Blackstone”. At the time, I had no idea what a Blackstone was but it sounded fancy and we’re always game for some home-cooked food! Once at the Freick’s Class A Holiday Rambler, Ken unveiled the Blackstone. He explained how simple and awesome this griddle was: A single, solid cast-iron cooking surface with two burners below. Cleanup was as simple as pushing the “big stuff” into the back of the griddle and down the “drain” with a scraper tool. At the end of the day or weekend, just dump the catch tray or better yet, pull the foil liner out and replace it. I watched as Ken whipped up some breakfast food: peppered bacon on the left side, diced potatoes on the right. The bacon grease got into the potatoes a bit. “Oh we’re having dirty potatoes today!”, Ken said. (Since then I’ve learned that “dirty” food means it’s seasoned a little with the food prior - usually a greasy food like bacon.) A handful of shredded cheese over the taters melted perfectly while some charred on the griddle surface. These things looked epic. I grabbed a rogue tater off the griddle and tossed it into my pie hole, instantly searing my tongue and the roof of my mouth. The second-degree burns were totally worth it. These dirty potatoes were BOMB! As Ken shut the griddle down I couldn’t help but cringe at the crusted cheese and bacon bits baked onto the surface. This looked like it was going to be hell to clean up but Ken had everything scraped off with a few strokes of the scraper blade! A quick spray of olive oil on the surface before closing the lid and walking away. “Lunch is going to be awesome with that breakfast seasoning.” Over the next few days the Freicks spoiled us and cooked a lot of meals on that Blackstone for us. I couldn’t believe how easy it was to make such great food - but the fact that there was basically zero cleanup made this seem too good to be true! A gift for the family We went the rest of the year limping along with that poor, filthy little Coleman camping stove but every time we grilled out we always thought about the Freicks’ Blackstone. Finally, in November I found an excellent deal on the 22” Blackstone and Camco Olympian Portable Table on a Black Friday sale. It just so happened that Tosha and I were prepping for a three-week van life trip in our Sprinter and we needed a good gas cooking option, so I ordered it right away. Merry Christmas to us! I unboxed everything as soon as it arrived and unfolded the Camco table. To my surprise, the table is super sturdy considering it’s lightweight! It is also incredibly easy to set up and stow with one simple pull or push motion. Four convenient folding hooks on each of the side tables are perfect for hanging utensils and rags. At 32 pounds, the Blackstone 22 isn’t exactly light but the table didn’t falter in the slightest when I placed the griddle upon its pedestal. In fact, it feels very sturdy even during heavy scraping. Somehow it doesn’t even manage to feel top-heavy. Months after my first use, I continue to find myself amazed at this little table! Just be advised, the particle board side table tops are NOT waterproof. After a night in the rain, the white surface started to lift around the edges where water soaked in. Not a big deal, and it’s been noted for the future. Enough about the silly table. What about the Blackstone, Rob?! Well, let me tell you, this isn’t something you just get out of the box and start cooking on. Just like a cast-iron skillet or pot, there’s an art to “seasoning” the metal. Blackstone recommends coating the surface lightly with oil and burning it off repeatedly. You can actually see the surface change colors as you get closer to being able to cook on it. After that initial “break in”, you truly will find that the meals will get tastier and tastier and stick less to the surface the more you cook on it! Real-world testing in the middle of nowhere The griddle was seasoned just in time for us to load up the van and hit the road for the Southern California desert. We packed a cooler full of meat and cheese and crossed our fingers that the Blackstone would be everything we hoped for. If it wasn’t, we’d be eating a lot of cold sandwiches and beef jerky. Once in California we set up camp at the Salton Sea Recreation Area, an oasis in the desert just east of Palm Springs with a bit of a dark history (more on that to come in a future blog). Not only were there no other people around, there were no stores close by to gather supplies. I set up camp and fired up the Blackstone using one of the four small camping propane bottles we’d packed for the trip. Our chicken fried rice dinner was okay (I burned the chicken and undercooked the rice on the campfire), but we were starving and living out of a van, so really it was excellent. The next morning for breakfast I sliced up some potatoes and peppers. Potatoes take a while to cook on the uncovered Blackstone surface, but I noticed that by the end of the meal the surface temp seemed low. Surely I wasn’t running low on gas after just two meals? Well, lunchtime confirmed my suspicion. After just 2.5 meals’ worth of cooking time, I’d expended a bottle of gas. We’d experienced our first drawback to Blackstone life: It ain’t very efficient for camping. We continued to burn through our gas bottles as we explored the SoCal desert but with each meal I better learned how to manage the cooking surface and temperature. At the same time, the griddle was seasoning nicely. The meals got better but most importantly - set up, clean up and tear down were so simple that I never dreaded cooking. Conversely, I was enjoying it more than ever! The Blackstone and Camco table combo was proving to be a home run. Gas relief After blazing through five or six of the small camping bottles, I started to realize these things weren’t cutting it for Blackstone duty. The final straw came as I was cooking breakfast during an event at Chuckwalla Raceway in Desert Center, CA. I made a quick batch of bacon and eggs and got Tosha fed before starting mine. A friend came by and struck up a convo but I could see she was eyeing my bacon and eggs. I sensed that she hadn’t eaten so I offered them up to her - after all we had plenty of food. She happily accepted, so I plated her food and tossed the last batch onto the griddle for myself. By this point I was absolutely starving. Then the gas ran out. And we had no more. After that morning of disappointment, I broke down and bought a 5-gallon propane bottle and a Blackstone 5-gallon adapter hose. For whatever reason, the Blackstone seems a lot more efficient and happy on the big bottle of gas. Since switching to the 5 gallon about a month and a half ago, we have cooked a LOT of meals on the griddle and still have gas in the tank. I did notice that the small bottle would freeze when running both burners on high, especially as the bottle got low. My theory is that this decreases the efficiency of the gas, so even though the bottle might still be ¼ full, it won’t put out the BTUs necessary to heat the griddle. Then again I have a GED not a Masters, so I could be way off. Regardless of the reasoning, the Blackstone truly needs a 5-gallon or larger tank if you want to avoid frustration every few meals. Since we didn’t have room in the Class A to stow a 5 gallon tank, I bought a trailer hitch rack for the back of the Sprinter and tied the bottle to that during travel along with our 2200 watt generator and gasoline jugs. It’s worked perfectly - in fact I recommend the hitch rack to anyone in need of a little (or a lot of!) extra space in their van, truck or RV! Even though we found a solution to lug the 5 gallon bottle around, it’s not ideal. My next step will be adding a propane line tap and hose to our RV’s on-board 30-gallon propane tank so I can simply connect the Blackstone to the rig and fire it up without any bottle at all! Would we do anything differently?
The 22” Blackstone has been a game-changer for our family especially when hosting guests or parties at our campsite but there are a couple of things I would at least consider if I had to do it again. First, I must tell you there is a covered version of the 22” griddle called the Blackstone “On The Go” model. It’s touted to be easier to carry around and more weatherproof since it has a metal lid. I passed on this model since it cost significantly more than the standard Blackstone and mine came with a canvas cover anyway. Turns out, I could really use that lid when I’m cooking things that need to be covered. The lid would help with efficiency and allow me to better cook some dishes. The good news is I could always use a cooking dome or even add a lid to my Blackstone using the pre-drilled holes. Do I regret not getting the On-The-Go? Not really. Ironically, the lid on the “OTG” model adds weight and takes up quite a bit more space than the standard model. What about the surface size? Blackstone offers options ranging from a 17” single-burner model to a 36” four-burner beast. I can tell you that I’ve cooked A LOT of food in one evening on this two-burner 22” griddle and the dual temps have come in quite handy. Those who have the 17” unit seem to have an overall consensus that they’d get the 22” model if they had to do it again. For a couple in a van or for camping use, the 17” is probably an excellent choice and it will use a small bottle more efficiently. If you have the space and you’re cooking for a family, spring for the 22” and connect it to a larger tank. What about the Blackstone griddle cart? It’s a nice, robust rolling cart but honestly it’s not ideal for RV use. If you’re staying stationary for long periods of time and leaving the griddle outdoors it’s an option to consider, otherwise you’re much better off with a lighter, portable and more functional folding table option like our Camco Olympia. In closing, we can’t recommend a Blackstone enough! Our prior “favorite RV appliance”, the Ninja Foodi, does great things but requires a lot of electrical power to make food which isn’t always ideal in a motorhome or trailer. Best of all, the griddle cleans up with a quick scraping, a spritz of oil and a wipe down of the outside with a disposable degreasing scrubbing towel (which I use for everything). The Blackstone truly is the best cooking tool you can buy for RV or van life and it’s given me a new love and appreciation for cooking! Now if you’ll excuse me, some dirty, cheesy scrambled eggs are calling my name. |
AuthorsRobert & Tosha Lackey are full-time RVers, business owners and parents focused on providing a unique, well-rounded educational experience for their children through real-life learning on the road. Archives
March 2024
Categories
All
|
